|
|
 THE MOTH WEAPONS SURVIVAL LIFE ON TITAN DOWNLOADS SITE SERVICES LINKS ONLINE PLAY OFFLINE CHALLENGES  |
Occurs a day after your failed bombing. NOTE: This mission requires you to fire a Big-Bob missile. The Police Moth and the Swallow cannot fire a Tac-Nuke or Big-Bob missile. You'll have to use another Moth. You get a message from Psycho Bob's with the subject *New Toy*. First go straight to one of your hangars and remove your pod and drone. Next go straight to Psycho Bob's 1 and let them fit you with a new nuclear device called Big Bob. This mission is much like the last one except now you have Laz enemies and Big Bob works. I suggest going to the Mines via Gamma and Midway. Target the blockage or Abandoned Terminal and shoot the blockage away. It explodes this time. As soon as the blockage explodes you'll recieve a message from Bob's telling you to enter the Port Crater and investigate. Do so. As you enter the crater you'll be hit with a nuclear storm much like the one that occurred when you caused the Klamp distraction earlier in the game. Your shields and power will drop quickly and all looks lost. Don't turn tail and run. Keep flying toward the Abandoned Terminal. The aliens will save you. You'll get a message telling you to get back to Bob's. Your controls will go dead and you'll see a little movie of an alien craft picking you up and flying over the crater wall into the Mines. 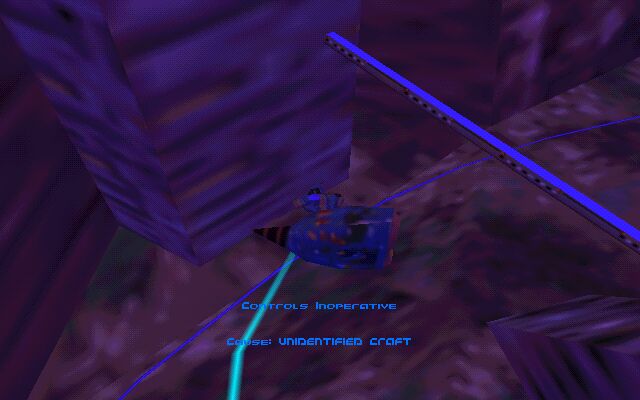 The aliens will rescue you shortly after the "blue storm" strips your shields. You will be flown over the crater wall into the Mines Crater. You will end up with no damage, but very low shields. While the aliens are saving you, spend the time targeting Psycho Bob's 1. This saves you precious time later in the Mines when the Laz begin to attack you. As soon as you get control of your ship head straight for the Midway tunnel. It's generally to your left after the aliens drop you off. Don't wait around. Laz is after you. You'll find that everythng's okay except for your shields. Try to make it all the way back to Bob's without stopping in somewhere to top up your shields. (Shields get topped up every time you dock in a hangar.) Upon returning to Bob's you'll be given instructions that start the runaround that finally get you off of Titan.  Tips: Make sure to use the Gamma route to the blocked Port Tunnel and back. If you miss, generally because you don't have "Tunnel Blockage" or "Abandoned Terminal" targeted, you can get another Big Bob by going back to Psycho Bob's 1. It's wise to have your pod and drone removed by now. There's nothing but runaround from this point onward. Don't fool with reading your messages until you're safely in a hangar. This walkthrough will tell you what you need to do beforehand. If you turn tail and run at the first sign of the nuclear storm in the Port Crater, you will be heavily damaged and facing a Laz attack. It's survivable, but not recommended. The aliens only save you once. If you go back in the Port Crater, you'll die. If your shields are extremely low after the rescue, get to Gamma and duck in the nearest building to top them up. Generally you can make it back to Bob's without having to stop. |
MISSION 1: Alien Sighting MISSION 2: Klamp Decoy MISSION 3: Mystery Package MISSION 4: Secret Bases MISSION 5: Trigger and Matter MISSION 6: Unknown Origin MISSION 7: Gangboy MISSION 8: Port Blockage MISSION 9: Big Bob MISSION 10: Final Runaround Playing Forever |
|
|